Uneven firing is a common kiln problem, and it’s a fixable mechanical flaw, not bad luck or a mystery. If you are pulling out pots with underfired glaze in one corner while another shelf is overdone, you are dealing with hot and cold zones inside your chamber.
This article covers how to identify those temperature differences and adjust your setup to correct them. We’ll look at using witness cones, which are cheap clay pyramids that melt at specific temperatures, to map your kiln’s true heat. We’ll also go over shelf spacing, ramp speed, and loading strategies that help even out the firing.
The key is to treat your kiln like a tool you can tune, not a beast you have to appease. So let’s start by checking what your cones are telling you about the real temperature in each part of the kiln.

Reveals true heat distribution to fix uneven firing.
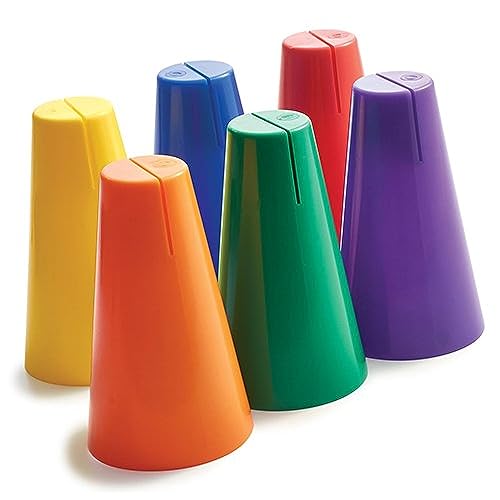
Holds cones securely on each shelf for reliable readings.

Measure cone bends precisely to track firing consistency.
See today's best deals onPyrometric Cones
Quick Answer
- Place witness cones on every shelf twice to identify true cold spots.
- Leave 5 to 6 inches between bottom shelf and floor to avoid choked heat flow.
- Keep a 1 inch shelf to wall clearance and put dense loads in hot zones.
- Position the thermocouple tip 2 inches clear so probes avoid skewed readings.
- Slow ramps to 100 to 150°F per hour plus 10 minute soaks to reduce thermal lag.
Run Witness Cones to Map Hot and Cold Zones
Witness cones are the cheapest diagnostic tool you own, and they are the only ones that tell the truth about heat work inside the chamber. Set a cone pack on each shelf, top to bottom, and fire as usual.
Witness cones tell the truth about heat work—set a pack on every shelf and fire as usual.
The bends reveal your firing history, showing which zone ran hot or lazy. Do this twice, not once; a single firing lies.
Consistent patterns, say the bottom shelf always slumps less, point to a real cold spot. The fix starts here, before you touch shelves or posts.
Cones cost pocket change, maybe five bucks a pack, and they save you from guessing. Run them, mark the results, and load smarter next time.
If you skip this step, you’re firing blind.
The Tight Stacking Mistake That Creates Cold Spots
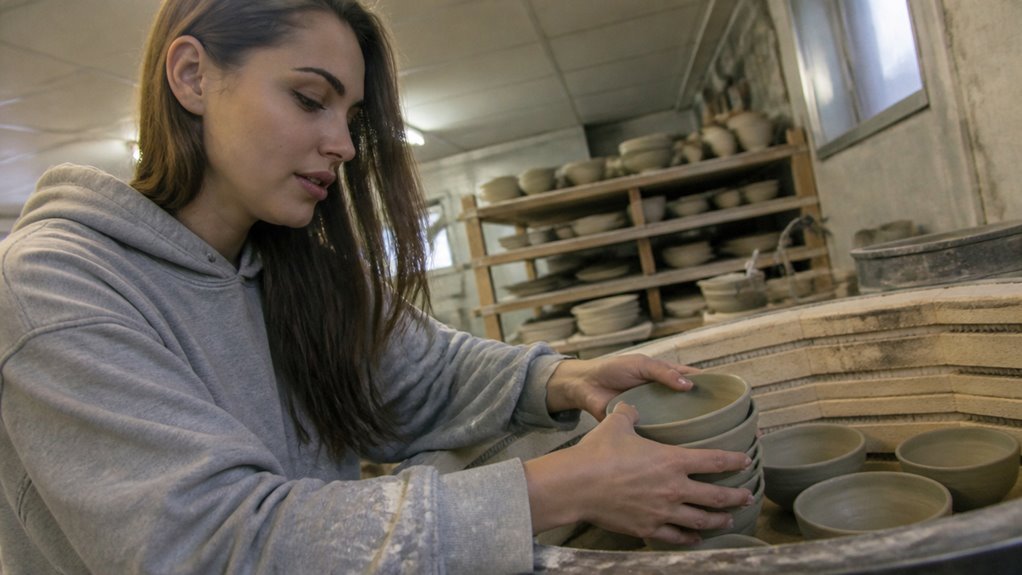
The tight stacking mistake is the most common way to strangle a kiln’s heat. It hits hardest at the top and bottom shelves.
When layers are crammed close together, radiant energy from the elements can’t penetrate the narrow gaps. Those outer zones stay starved for warmth.
Give the bottom shelf a one‑inch post off the floor. Set the first gap at five to six inches so two full rows of coils are exposed.
If you skip this, you’re baking the middle and leaving the edges raw.
Restricted Radiant Penetration
Tight stacking traps heat like a lid on a pot of boiling water. Nothing moves, and the kiln struggles to do its job.
When shelves sit too close, restricted radiant penetration chokes heat flow near the top and bottom, where heat escapes fastest. A dense shelf load, such as a wall of small mugs, acts as a solid mass that soaks up energy unevenly, leaving cold pockets mid-shelf.
Radiant heat from the elements needs line-of-sight to reach the ware. Jam-packed layers block that path.
Give each layer breathing room with five to six inches of post height near the ends, not the snug two inches you might favor. Spacing is your kiln’s version of ventilation, not wasted space.
Tighter stacking just creates a cold-shoulder sandwich. Air gap equals even heat work.
Top and Bottom Shelves
Neglect of the top and bottom shelves is a classic kiln firable offense. It usually stems from that harmless-looking two-inch post gathering dust in your accessory bin.
That post, used everywhere, strangles heat exactly where it’s already weakest. The bottom shelf needs a one-inch lift off the kiln floor; anything tighter blocks radiant energy from the lowest elements.
Up top, you need at least five inches of lid clearance to let two full coil rows shine down. Tight stacking here creates cold spots faster than a drafty window.
Swap those short posts for five- or six-inch risers on the extremes. Keep center shelves snug with two- or three-inch posts.
Your cones and your glaze will thank you.
Place Shelves and Posts for Even Heat Flow
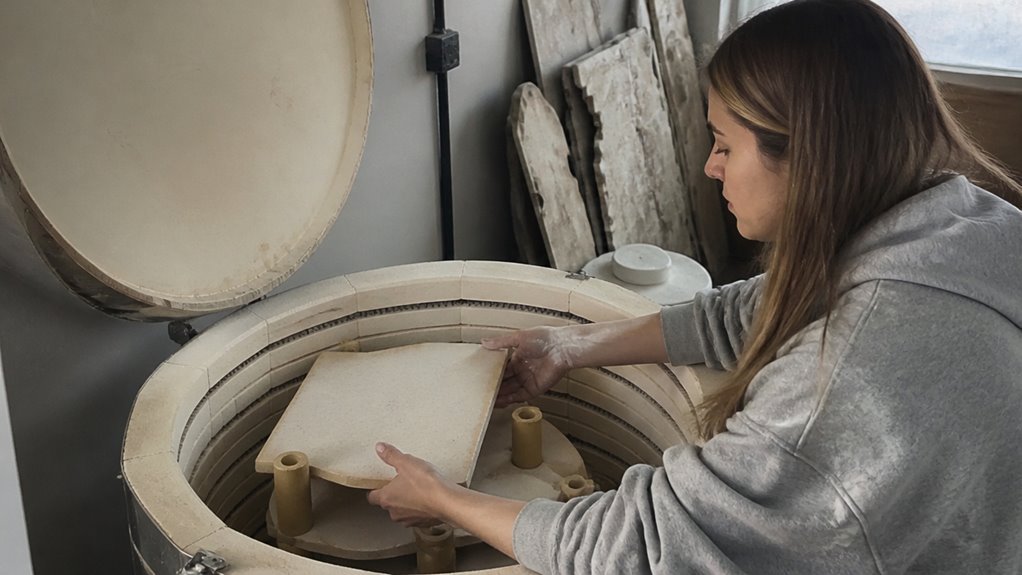
Shelves and posts are the strongest control you have for even heat in a kiln. Element coils fire outward, so arranging the shelf stack matters more than your clay body or glaze.
Keep at least one inch of clearance between the shelf edge and the kiln wall. That gap lets radiant heat move past shelves instead of pooling in dead zones.
Post height controls airflow at the top and bottom of the stack. Use five-to-six-inch posts there, and reserve two-to-three-inch posts for the naturally hotter middle section.
Load densely in hot spots and sparsely in cool zones. Match shelf diameter to your kiln’s spec, since oversized shelves strangle convection.
Leave two inches around the thermocouple tip. Anything closer skews your temperature readings.
Spacing shelves properly solves even heat problems far better than switching clay bodies.

Replace warped shelves to ensure even heat distribution.

Lift shelves for proper airflow and eliminate cold spots.

Raise bottom shelf to allow radiant heat to flow.
Browse discountedKiln Shelves and Postson Amazon
Why Your Thermocouple Readings Lie to You
A thermocouple is just a metal probe that reads air temperature, but when it lies, your whole kiln suffers. The rod judges heat for the zone, and if a shelf edge or stray pot sits within two inches of its tip, it reads cooler air, so the element stays on longer and overshoots everything else.
That is thermocouple obstruction. Check the probe before you blame your loading.
That is thermocouple obstruction. Check the probe before you blame your loading.
Sensor calibration drifts after years of heating and cooling cycles. A probe reading 50°F low makes the controller fire hot to compensate, chasing a ghost.
Skutt insists on clearance because blocked sensors defeat zone balancing. Shift shelves, confirm the gap, and recalibrate if needed.
An honest thermocouple beats a lucky guess, and your cones will show it.
Slow the Ramp, Hold 10 Minutes, and Vent to Even Out Heat
Slowing the ramp and holding for ten minutes is the cheapest fix for uneven firings, and it costs nothing but time. A slower climb lets heat soak into dense clay instead of racing past it.
That brief hold at peak temperature lets the cooler spots catch up. It’s like giving the kiln a moment to breathe before the work is done.
For a half-cone difference, this simple trick often balances things out. Try it before you start rearranging shelves or buying new elements.
Slow the Ramp
A slow ramp fixes the temperature gaps that fast firing creates. Thick ware, like a heavy mug, absorbs heat unevenly, so thermal lag between the surface and core leaves bottoms underfired.
Crank the ramp down to 100–150°F per hour, and the clay catches up. Slow the ramp to reduce temperature stratification between shelf layers.
Use a heat soak, a gentle hold before peak, to push heat into dense loads. Extend soak time at top temperature by 10 minutes to smooth out cool zones.
This fixes the classic “top fires, bottom lags” problem. For a glaze firing, that small investment costs no extra energy, just clock time.
Patience pays off in even cones.
Hold Ten Minutes
Ten minutes of patience at the top of a firing works wonders for uneven cones. This hold lets heat soak into dense ware and smooths out temperature gaps from rapid ramp-up.
The middle of the kiln may run slightly hot during the hold, but that’s a fair trade for consistent results. A ten-minute soak compensates for about a half-cone cool spot, often the difference between a glaze crawling and flowing nicely.
Pair the hold with a slow final ramp of about 60°F per hour so the chamber catches up. Venting helps too, pulling cooler air and evening the heat from bottom to top.
Use witness cones on each shelf to confirm the fix. If a cold section persists, add another five minutes; the cost is just time, not electricity.
Hold ten minutes, ramp gently, and vent. Your even heat will thank you, and so will your glazes.
Load More Ware in Hot Sections to Rebalance the Chamber
Adjusting where the ware sits is the cheapest, fastest fix for a chronically cool section. You need no new elements or fancy controller, just your own hands and a willingness to admit your kiln has a favorite corner.
Pack dense, heavy loads into those hot spots to turn them into heat absorption zones. Thick-walled mugs or full bisque loads belong in the top or bottom that runs cold.
Keep the middle lighter, since it already fights to stay cooler. Run a test with witness cones, then swap shelf positions until the cool area shrinks.
Each pound of clay you shift pulls heat away from the hot side, balancing the chamber without touching the dial. It is not glamorous, but it works every time.

Accurate temperature sensing prevents overheating and uneven firing.

Shields probe from obstruction for reliable readings.
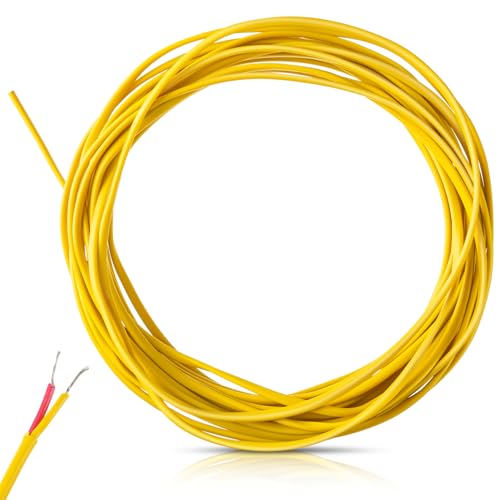
Replace worn wires to maintain precise temperature control.
Check discounted items inKiln Thermocouples
Frequently Asked Questions
Can I Fire Dense Loads if I Use a Slower Ramp?
Yes, you can fire dense loads with a slower ramp, but the load limit still applies. A slower ramp reduces thermal stratification, yet heat absorption still causes temperature lag inside the ware.
Check your clay or kiln manufacturer’s instructions for the maximum safe load per shelf. In my experience, leaving even 3 to 5 centimeters of space between pieces helps air circulate and evens out maturation.
Use a slow ramp with a soak at peak temperature to let the core catch up, rather than pushing the kiln harder. Uniform distribution of mass across the shelves matters more than speed alone. If you are unsure about soak duration, follow the manufacturer’s recommended schedule for your specific clay body and kiln size.
Do Smaller Shelves Improve Airflow More Than Sized Ones?
Smaller shelves improve airflow, but only when the gaps around them are sized correctly. Shelf spacing and edge clearance, not the shelf footprint alone, determine how heat and moisture move through the kiln.
A one-inch gap from the kiln wall preserves the vertical airflow path. Leave at least that same distance between the shelf edge and any load, and check your kiln manufacturer’s instructions for their recommended venting setup.
In practice, undersized shelves waste firing space without adding real circulation. A correctly sized shelf with a consistent one-inch perimeter gap gives you both efficient airflow and full usable area.
For deeper insight, look up “kiln shelf ventilation” to compare load patterns. Test one shelf spacing at a time during a bisque fire to see what works for your clay body.
How Often Should I Replace Kiln Shelves for Even Firing?
Replace kiln shelves only when you see cracks, warping, or heavy glaze drips, since routine wear does not require a set schedule. You should check them before each firing and replace them as soon as visible damage appears.
To keep firing even, rotate your shelves top to bottom and front to back every few loads. This balances thermal fatigue across the whole stack, which prevents hot spots from forming.
Apply a fresh coat of kiln wash to the top surface after every glaze firing, and avoid washing the underside. A thin layer protects against drips and makes cleanup easier, but too much wash can flake off and ruin your ware.
For warped shelves, set them on a flat surface and rock them gently. If they wobble, replace them now, because uneven support leads to cracked pots. In my experience, a simple pin test with a straightedge helps spot subtle bends.
Always refer to your kiln manufacturer’s instructions for the maximum firing temperature of your specific shelf material. Investing in a spare set lets you swap damaged shelves immediately, so your firing rhythm never suffers.
Will a Longer Hold Fix Severely Underfired Bottom Shelves?
No, a longer hold will not fix severely underfired bottom shelves, because the soak only compensates for minor heat lag, not a full cone deficit.
The thermal mass of the kiln furniture and the floor absorbs energy faster than the elements can replenish it, leaving the bottom zone chronically cool.
To correct this, you need to adjust the kiln’s firing profile, not just the hold time.
Program a preheat or a slow ramp, then add a “cone fire” mode that uses a kiln sitter or thermocouple to bend a witness cone, which measures actual heat work.
Check your kiln controller’s manual for a “cone fire” or “dynamic zone” setting, and verify with a cone pack placed on the bottom shelf.
Also, reduce bottom shelf mass by using thinner shelves or adding a deflector, but always confirm with the manufacturer’s guide for your specific kiln load.
Does Kiln Placement in the Room Affect Firing Uniformity?
Yes, kiln placement in the room does affect firing uniformity. Drafts from windows, doors, or HVAC vents can cool one side of the kiln, causing uneven heat distribution, while a cold room slows the entire firing cycle.
To identify placement issues, run a zone mapping test using cones placed at different shelf levels and corners. Compare how each cone bends; if one side consistently lags, reposition the kiln away from drafts and insulate the floor with a ceramic fiber pad.
A simple tip is to place the kiln at least 12 inches from any wall, leaving space for airflow without direct drafts. Also, avoid firing on concrete floors in unheated garages during winter, as thermal mass steals heat.
For consistent results, check your kiln manufacturer’s instructions on minimum clearance and ambient temperature ranges. Related terms like heat distribution or “kiln atmosphere” can help you research further. In my experience, even a 10-degree room shift can show up as a cone difference, so observe and adjust.
Rounding Up
Your kiln fires unevenly because heat takes the path of least resistance, and you can correct that with physics, not guesswork.
Watch witness cones to see what your thermocouple hides, and stack loosely so air and heat move freely instead of suffocating the load.
Slow down your ramp, hold the heat, and vent the steam to let moisture escape as the clay transforms.
Load the hot zones heavier to balance the load, which gives you even glaze melts and fewer cracked pots.
Check your cone results on every firing, then compare them to your thermocouple readings to spot the lie.
The bottom line is this: trust the cones, balance the load, and your kiln will finally earn its keep.